Picture this. You build a simple DIY shelf for your garage. It looks great at first. But when you load it with tools, it wobbles side to side. The problem? Off angles from sloppy cuts. Those tiny errors add up fast and ruin the whole project.
A combination square fixes that issue quick. This affordable tool helps beginners check and mark precise 90-degree angles in woodworking, framing, or even metalwork. You get squares, 45-degree checks, depth measurements, and levels all in one compact package. No more guessing.
Best part? It costs under $20 and fits in your pocket. This guide walks you through the basics, step-by-step use, common mistakes to skip, and care tips. You’ll nail perfect right angles on your next build. Let’s get started.
Break Down the Basics: What Makes a Combination Square Tick
Combination squares stand out because they handle multiple jobs without bulk. Unlike a try square, which only checks one angle, this tool adjusts for different tasks. The design stays simple yet tough. Anodized metal resists rust, and markings stay sharp over time.
Beginners love the portability. It beats bulky framing squares for shop or job site work. Pick a 6-inch or 12-inch model first. They suit most home projects without overwhelming you.
Brands like Starrett or Irwin offer solid budget options. Check reviews on sites like this Woodworkers Journal guide to combination squares for picks under $20.
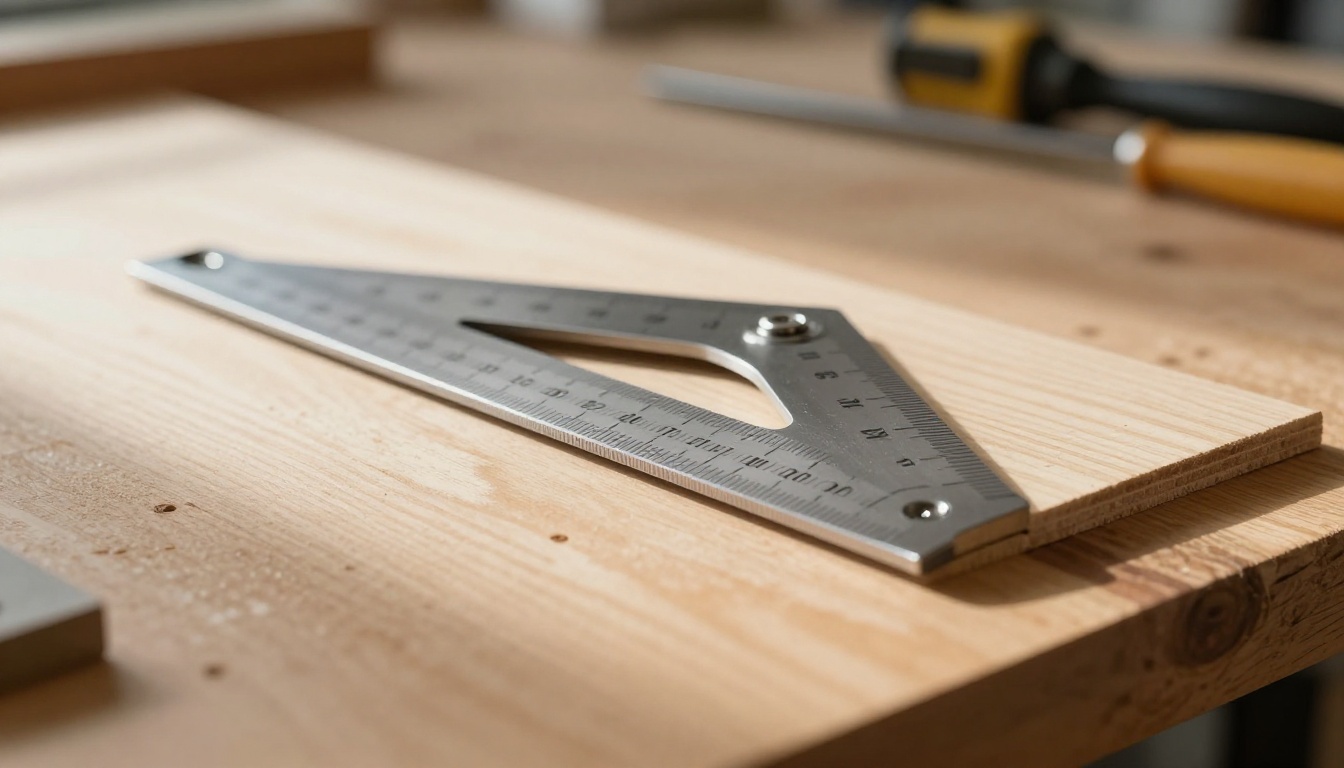
Key Parts and Their Jobs
The blade forms the main ruler. Etched lines let you measure up to 12 inches on standard sizes. It slides into the stock for positioning.
The stock, or head, has square faces. One side checks 90 degrees. Flip it for 45 degrees. A lock nut tightens everything in place. Some models add a small level vial or scriber notch.
These parts work together for accuracy. Press the stock to your wood edge. The blade then shows if the surface sits perpendicular. Simple tweaks make it reliable every time.
In addition, the nut prevents slips during use. Tighten it firm but not overdone. That keeps readings true.
Picking the Right Size for Your Projects
Start with a 6-inch blade for cabinets or trim work. It handles tight spots well. Go 12-inch for framing or larger panels. Longer blades reach farther but feel awkward at first.
Beginner kits often include a pouch. They protect the tool and keep parts handy. Avoid extra-long ones over 24 inches. They bend easier and cost more.
Match size to your needs. Small jobs need quick access. Bigger ones demand reach. Test in store if possible. Feel helps you choose right.

Nail 90-Degree Angles Every Time: Your Step-by-Step Guide
Ready to use your combination square for 90-degree angles? Follow these steps on a flat workbench. Wear eye protection always. Stable surfaces prevent slips.
Practice on scrap wood first. That builds confidence without waste. The process works for marking new lines or checking cuts.
Prep Your Workpiece and Tool First
Clean your workpiece. Sand or plane edges flat. Bumps throw off readings.
Loosen the lock nut. Slide the blade to your spot. Lock it tight. Test against a known straight edge, like a board you checked before.
In short, prep saves headaches later. Dry fit pieces if building frames.
Place It Right and Check for Squareness
Press the stock firm against the reference face. Hold steady. Swing the blade to touch the surface you check.
Look down the blade edge. No light gap means 90 degrees. A sliver of light shows twist. Adjust your cut or plane as needed.
For inside corners, flip the stock. Outside ones use the standard face. Wood grips better than metal, but technique stays same.
Repeat at both ends. That catches bows in long boards.
Mark Lines or Measure with Confidence
Pencil along the blade for lines. Keep light pressure for crisp marks. Use a scriber on metal.
For depths, flip to the anvil end. Set and lock. Verify by reversing the square on the line.
After marking, double-check. Reverse position confirms accuracy. Scrap practice makes this second nature.
Here’s a quick table for common checks:
| Task | Stock Face | Blade Position |
|---|---|---|
| Right angle check | 90-degree | Full contact |
| 45-degree miter | 45-degree | Edge aligned |
| Depth gauge | Anvil | Locked tight |
This setup speeds work. Always verify twice.

Steer Clear of Rookie Errors That Ruin Measurements
New users make simple slips. Spot them early to save time. These fixes come from shop experience.
Ignoring worn or loose blades tops the list. Play in the nut or bends skew angles. Tighten first. Test against a precision straight edge like this machinist’s tool. Replace if bent.
Forgetting to Account for Uneven Surfaces
Warped wood fools the square. Readings vary spot to spot. Plane high areas or shim lows. Check three points along the edge.
Bumpy metal needs filing. Smooth first, then square.
Relying on Eyeballing Instead of the Tool
Your eye guesses wrong often. Speed comes with practice, but the tool rules. Always set it down. Habits build precision over time.
Other slips include over-tightening the nut. It bends blades. Snug works best.
Skip rushing. Slow checks beat redo cuts.
Level Up: Pro Tips and Care to Keep It Spot-On
Clamp the workpiece for solo checks. That frees hands. Pair with a torpedo level for full frames.
Use apps like bubble level tools on your phone for rough checks first.
Daily Habits for Peak Performance
Wipe dry after use. Oil the blade lightly with WD-40. Store flat in its case.
Avoid humidity. Check zero position monthly. Slide to end and back.
Upgrade when blades wear thin. Starrett lasts years.
These steps keep it accurate. Tackle bigger projects now.
You master 90-degree angles with a combination square. Small habits yield sturdy shelves and frames that last.
Grab one today. Practice on scrap. Your projects level up fast.
Share your first try in comments. Post pics of results. What’s your next build?
(Word count: 1487)