You’ve just finished cutting the pieces for your picture frame. They look perfect on paper. But when you assemble them, gaps appear at every joint. The wood seems short by a tiny bit on each end.
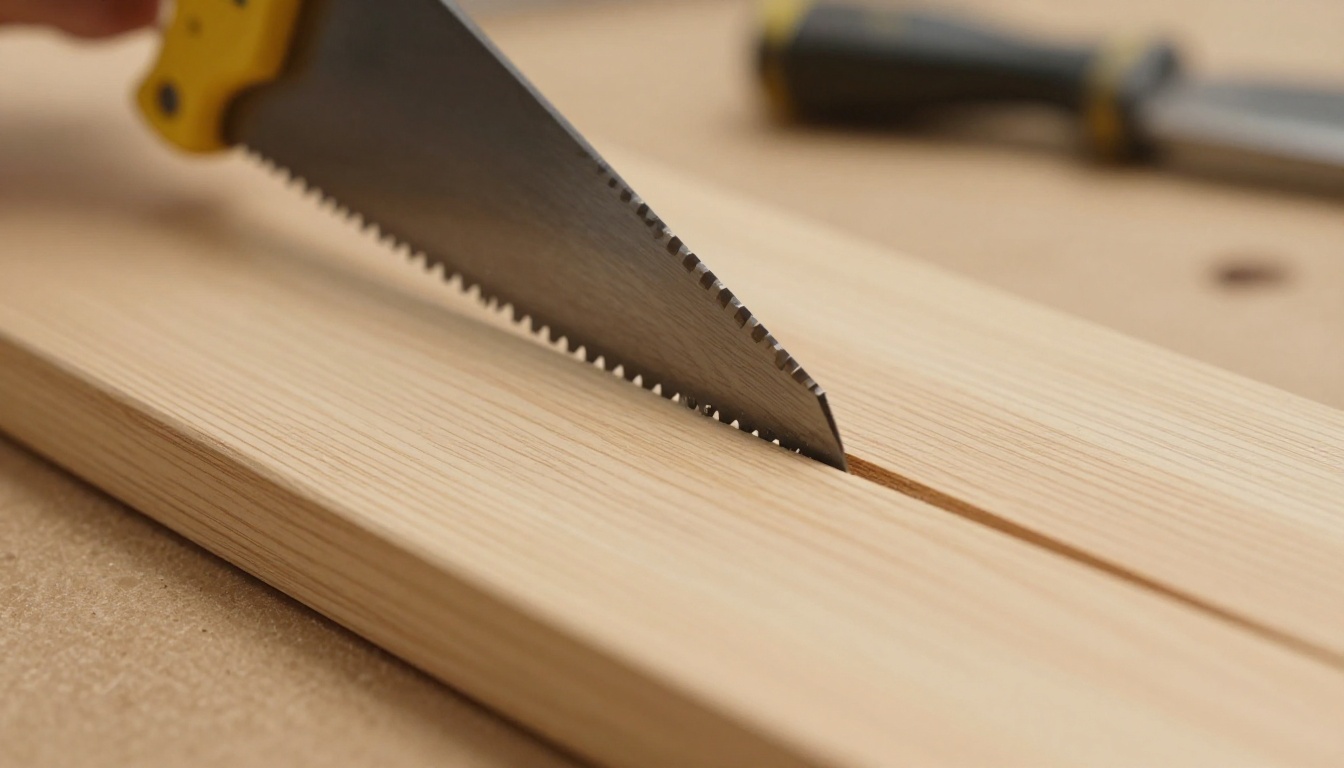
That tiny bit is kerf. It’s the sliver of material your saw blade removes with every pass. Most blades leave a groove about 1/8 inch wide. That equals the blade thickness plus the teeth set. Ignore it, and your project falls apart. Frames won’t close tight. Box sides leave spaces. You waste wood and time fixing sloppy fits.
Luckily, you can fix this fast. Measure your blade’s kerf once. Then adjust your marks before cutting. You’ll get snug joints every time. These steps work for beginners and pros alike. Follow along, and say goodbye to frustrating gaps.
What Is Kerf and Why Should You Care When Cutting Wood?
Kerf is the width of the slot your saw leaves behind. Think of it as the groove that vanishes during the cut. Table saws often create a 1/8-inch kerf. But it varies. Blades have different thicknesses. Teeth set widens the path further.
This matters because every cut eats wood. One cut shortens a piece by the full kerf amount. Multiple cuts add up fast. In joinery, those errors compound. Your finished parts end up too small.
Take a picture frame. You need four 18-inch rails. Mark them straight from a longer board. Cut without kerf math. Each miter joint gaps by half the kerf on both sides. The frame won’t square up. You sand or recut. That’s lost time and material.
Precise accounting saves all that. Saw kerf awareness leads to tight fits. You use less wood overall. Projects go together smooth. Frustration drops. In short, it turns good work into pro-level results.
For exact blade specs, check manufacturer details like those from Freud saw blades.
Blades drift less with proper kerf math too. Your fence stays true. Cuts stay straight.
Kerf Differences Across Common Saws
Kerf changes by tool. Circular saws leave 1/8 to 3/16 inch. Table saws hit 1/8 inch standard. Thin-kerf blades drop to 3/32 inch.
Bandsaws cut narrow. Often 1/32 inch or less. Jigsaws stay thin too. About 1/16 inch max.
Full kerf blades handle tough wood better. They clear chips fast. Thin ones vibrate less on light cuts. Always read the label. Specs list exact width.
Pick based on your saw. Match blade to motor power. This keeps cuts clean.
This image compares slots side by side. See how bandsaw kerf looks tiny next to a circular saw’s.
Measure Your Blade’s Kerf in Under 5 Minutes
Start with a simple test. Grab two scrap boards. Stack them tight. Clamp if needed. Run your blade through both at once.
The cut goes through. Separate the boards. Measure the slot width between them. Use calipers for precision. That’s your blade kerf width.
Or cut a single thick scrap. Measure the groove directly. Side to side across the cut. Do it twice. Average the numbers. Blades wobble a touch.
Change blades often? Remeasure each time. Teeth set affects the path. Fresh blades might differ from worn ones.
Digital calipers speed this up. They read to 0.001 inch. Cheap ones work fine at hardware stores.
Test on the same wood type as your project. Hardwood compresses less than soft. Results stay consistent.
Once you know your kerf, write it down. Tape it to your saw. Next cuts go perfect.
Tools You’ll Need for Spot-On Measurements
You need few items. Calipers top the list. Digital beats dial for speed. Zero them first. Close jaws. Press the button till it reads zero.
Scrap wood comes next. Straight 1×4 pieces ideal. Clamp holds the stack steady.
Mark your board edge with pencil. Note the setup. Rerun tests easy.
Budget calipers cost under $20. Pro versions add fractions display.
With these, anyone measures right. No guesswork.
Calipers slide into the slot here. Read the display for exact kerf.
Mark Wood Lines That Account for Kerf Perfectly
Measure kerf first. Now adjust marks. For one cut, mark the waste side. The line falls on the offcut. Your keeper piece stays full size.
Multiple pieces need math. Add half kerf to each mark. Or subtract full kerf from one side. Keeps total length true.
Rip cuts run with grain. Crosscuts go across. Both lose kerf the same way. Mark from the finished face always.
Example: Cut two 10-inch pieces from 24-inch board. Two cuts total. Subtract 2 x kerf. Say 0.125 inch each. Total loss 0.25 inch. Mark first at 10 inches minus half kerf. Second at 20 inches minus half kerf.
Use a sharp pencil. Fine tip marks stay true. Speed square keeps lines square.
Offset marking helps. Set your fence or stop block by half kerf. Cuts repeat exact.
Joints fit snug now. No sanding needed. Drawers slide smooth. Frames square up.
Techniques vary by project. Rip long boards first. Crosscut later. Test one piece always.
For layouts, draw full size on paper first. Factor kerf in pencil. Transfer to wood.
This method builds confidence. Cuts come out right every time.
Handling Multiple Cuts from One Long Board
Math gets simple for longs runs. Total length minus (cuts minus one) times kerf. Why minus one? End cuts don’t steal from middle pieces.
Say 48-inch board. Four 11-inch legs. Three cuts. Kerf 0.125 inch. Subtract 3 x 0.125 = 0.375 inch. Combined pieces total 43.625 inches.
Mark first leg 11 inches. Next three at 22, 33, and 44 inches minus adjustments. Or mark waste sides only.
Board warps sometimes. Measure from straight edge. Recheck after first cut.
This saves wood. No short scraps pile up.
| Board Length | Pieces Needed | Cuts | Kerf (in) | Total Subtract | Adjusted Marks Start |
|---|---|---|---|---|---|
| 48 | 4 x 11 | 3 | 0.125 | 0.375 | 11, 22, 33 |
| 36 | 3 x 11 | 2 | 0.125 | 0.25 | 11, 22 |
| 72 | 6 x 11 | 5 | 0.125 | 0.625 | 11,22,33,44,55 |
Use this table for quick checks. Adjust for your kerf. Marks stay accurate.
Pro Trick: Use a Story Stick for Repeat Cuts
Grab a scrap stick same length as your board. Mark exact finished sizes on it. Add kerf offsets at each cut line.
Transfer those marks to your real wood. Pencil rubs over. Lines match perfect.
Great for drawers or cabinet rails. Repeat cuts stay identical. No math errors mid-project.
Label the stick. “Legs, 0.125 kerf.” Reuse often.
Clamp it beside your work. Double-check before sawing.
Pros swear by this. Speeds layout. Cuts flawless.
Avoid These Kerf Mistakes That Waste Wood and Time
Don’t skip measuring your own blade. Store blades differ. Yours might vary.
Assume all cuts match standard 1/8 inch? Wrong. Test every setup.
Mark the centerline. Blade eats half each side. Pieces shrink double.
Blade drifts off line. Kerf widens effective loss. Check alignment first.
Fixes work quick. Remeasure after tweaks. Use thin-kerf blades for precision. Zero-clearance inserts steady the cut.
Checklist before marking:
- Kerf noted?
- Marks on waste?
- Test cut done?
Turn errors into habits. Wood lasts longer. Time frees up.
See details on zero-clearance inserts from Woodcraft.
What to Do When Your Cuts Still Don’t Line Up
Recheck kerf first. Blade worn? Remeasure.
Fence off? Square it up. Wood moves with humidity. Let acclimate.
Test pieces always. Cut one full set. Dry fit before all.
Alignment drifts over time. Shim if needed. Calibrate stops.
These steps fix most issues. Projects snap together.
Nail Perfect Wood Cuts Every Time
Measure kerf with calipers on test stacks. Mark waste sides or subtract totals smartly. Dodge old traps like skipped tests.
Your frames close tight now. Boxes stack square. No more gaps haunt you.
Try this on scrap today. Cut a simple frame. See the difference.
Share your results in comments. What kerf surprised you most? Subscribe for blade tips next. Perfect fits await.
(Word count: 1492)