You grab your chisel to pare a joint. It skids across the wood and leaves ragged marks. That dull edge ruins the fun. Now picture slicing paper-thin shavings that float away like snowflakes. A sharp chisel transforms woodworking.
Whetstones offer the best path for beginners. They cost less than power sharpeners. You control the angle for precise results. No fancy setup needed. This method matches pro shops without the price tag.
You’ll gather tools, set up right, follow simple steps, and test the edge. Practice once, and your chisels stay ready. Let’s get started with the basics.
Gather These Must-Have Tools Before You Start
Stock up on a few items first. Skip extras to keep it simple. These handle most chisels under 1-inch wide.
Focus on quality basics. A good whetstone lasts years. Beginners pick a combo stone with 1000 grit for coarse work and 6000 grit for polishing. Soak it in water. It stays flat longer than oil stones.
Here’s what you need:
- Combo whetstone (1000/6000 grit): Main player for bevel and back. Try the King waterstone combo for under $40.
- Wood chisel: Any bevel-edge type works. Clean it first.
- Flattening stone or diamond plate: Keeps whetstone even. A cheap diamond plate from Lee Valley does the job.
- Water bowl or spray bottle: For soaking and rinsing slurry.
- Old towel: Wipes hands and catches drips.
- Permanent marker: Marks bevel to track wear.
- Chisel angle guide (optional): Locks in 25 degrees. Skip if you practice freehand.
Set up on a stable bench. Clamp the stone if it slips. Water makes floors slick, so towel nearby prevents falls. Total cost stays under $75. Shop Amazon or woodworking stores for deals.
Set Up Your Whetstone and Chisel for Success
Prep takes minutes but saves hours later. Rush it, and your edge goes crooked.
Start by soaking the whetstone. Submerge it 10-15 minutes until bubbles stop. Waterstones need this; dry stones don’t. Pat dry before use.
Next, flatten the surface. Sprinkle water on the diamond plate. Rub the whetstone in small circles. Cover the whole face. Check for shiny evenness. No pits left.
Mark the chisel bevel with permanent marker. Color the edge black. This shows where metal wears off.
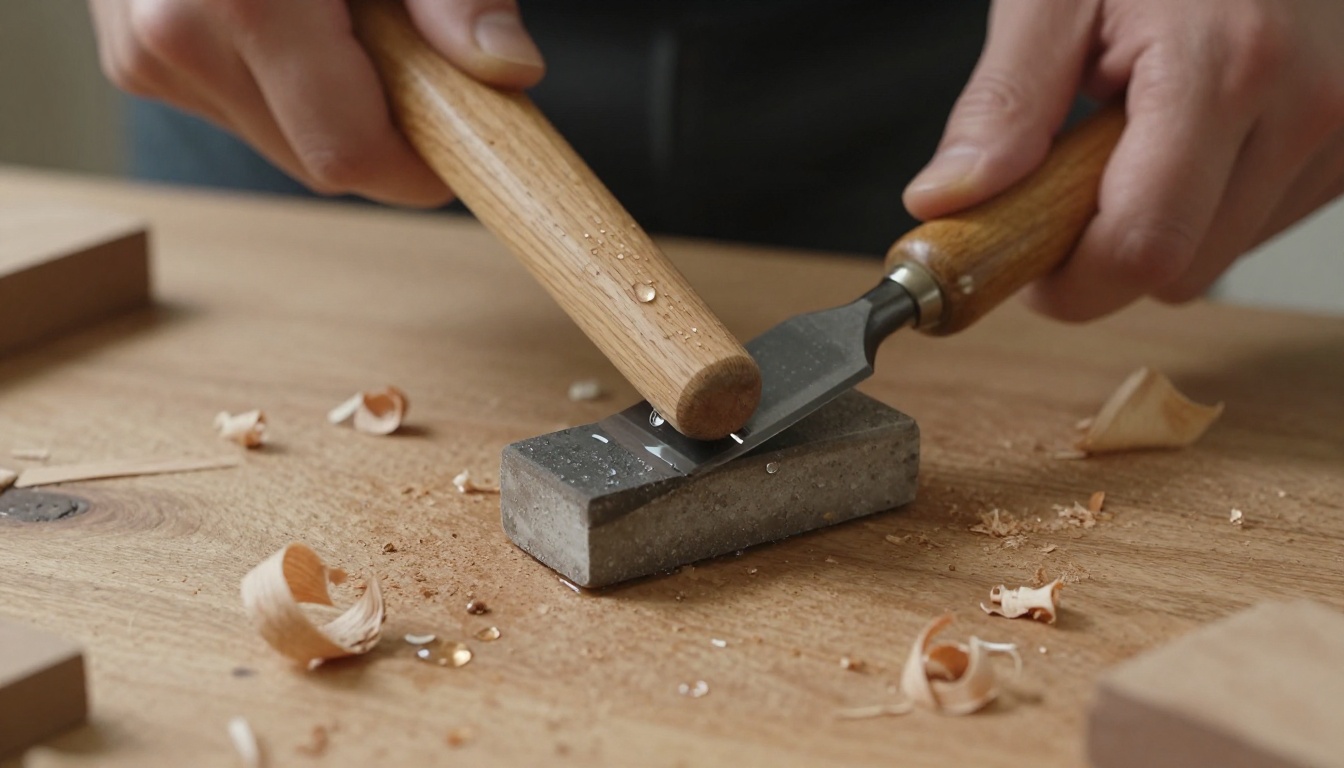
Hold the chisel at 25-30 degrees. Thumb on blade, fingers on handle. An angle guide clamps on for steadiness. Practice the motion: push away from edge, heel leading.
Common slip-up? Skipping the soak. Stone clogs fast. Fix uneven stone by flattening often. Now you’re set in under 5 minutes. Edge awaits.

Follow This Easy Step-by-Step Sharpening Process
Sharpen in stages. Coarse grit removes metal. Fine grit hones. Keep angles steady. Use even, light pressure. Listen for the slurry scratching sound.
Work bevel down first. Push strokes only, 10 at a time. Rinse often. Flip to back after each set.
Expect 15-20 minutes per chisel. Go slow for best results.
Flatten the Back for a Perfect Foundation
The back must lie flat. Otherwise, the bevel digs uneven.
Color the back near edge with marker. Place chisel flat on 1000 grit. Push 50-100 light strokes away from you. Heel leads.
Check marker wear. It fades evenly if flat. Use a straight edge to confirm no rocks. Repeat if needed.
Too much force raises a burr. Feel the thin wire edge. File it off later. Flat back means true cuts.
Grind the Bevel to a Crisp Edge
Set angle to 25 degrees. Guide helps beginners.
Stroke on 1000 grit. 20-30 pushes until marker vanishes. Burr forms along edge. Run finger lightly perpendicular. Feel it everywhere.
Rinse chisel and stone. Uneven burr means angle wobbles. Adjust and repeat.
This stage shapes the bevel. Patience pays off.

Refine and Polish on Fine Grit
Flip to 6000 grit side. Lighter pressure now.
Alternate 10 bevel strokes, then back. Burr rolls over. Keep going until it vanishes.
Edge gleams. Polish with circles if you want extra shine.
Test sharpness. It shaves arm hair clean. No tug.
Test Your Edge and Maintain It for Years
Does it pass? Slice newsprint. Clean cut means success.
Push across thumbnail at angle. Catches without sliding.
Best test: thin shaving from scrap wood. Paper-thin curls up.
Fails? Return to fine grit. Few strokes fix it.
Strop for mirror finish. Leather scrap with green compound. Pull edge 20 times.
Maintain easy. Hone bevel after each use. 10 strokes each side.
Store edge up in rack. Dry stone after use. Avoid drops.
Practice on beater chisels first. Soon, yours outperform store-bought. Check Fine Woodworking’s sharpening tests for pro benchmarks.

Your chisels now cut like lasers. Grab that whetstone and try today. First edge hooks you forever.
Practice builds speed. Dull tools frustrate; sharp ones inspire. Share your results in comments. What chisel did you sharpen first?
Pin this for shop reference. Check our beginner chisels guide next. Woodworking joy starts sharp.