You spend hours sanding your woodworking project to perfection. Then you brush on the finish. Hours later, the surface feels rough again. Those tiny bumps come from raised wood grain. Wood fibers swell when they hit moisture in stains or topcoats. You can fix this by raising the grain on purpose before your final sanding pass. That way, you knock down the fibers early for a silky smooth result that lasts.
This technique saves you from sanding through your finish later. It gives that pro-level touch pros get on tabletops and cabinets. You’ll avoid frustration and get better results at home. In this post, we cover why it works, tools you need, a step-by-step guide, and fixes for common slip-ups. First, understand what happens when you raise the grain.
What Raising the Wood Grain Does and Why It Matters for Your Projects
Wood acts like a sponge. Finishes carry water or solvents. Those cause fibers to stand up after you apply them. You raise the grain first by adding moisture yourself. Then you sand it flat. No surprises later.
This works best on porous woods like oak, pine, or maple. Hardwoods show it more because their tight grains react strongly. Softwoods like pine raise fast too. Even exotics benefit, but test first.
Think of it like combing tangled hair. You wet it to loosen knots, then brush smooth. The result stays neat longer.
Benefits include a smoother feel right away. You sand less between coats. Your finish sits flat without fish eyes or bumps. Projects look and feel professional.
Here’s a quick comparison:
- Before raising: Finish dries rough. You resand topcoat. Risk gouges.
- After raising: One extra step upfront. Glass-like surface from the start.
For more on wood behavior with moisture, check Wood Magazine’s grain raising explanation.
Oak tabletops shine with this method. Pine shelves stay touchably smooth. You get pro results without fancy gear.

Your Must-Have Tools and Materials for Easy Grain Raising
You don’t need a big budget. Grab basics from any hardware store. Start with sandpaper in grits from 150 to 320. Use sheets or discs for your sander.
Distilled water works best. Tap water leaves minerals that streak. Lint-free cloths or a sponge wipe it on clean. Tack cloths pick up dust after sanding. Denatured alcohol cleans if water won’t cut it.
Why each matters: Distilled water evaporates clean. No spots. Tack cloths trap fine dust. Alcohol evaporates fast for tight grains.
Save money by progressing grits slowly. Reuse cloths after washing. Wear a dust mask always. Work in fresh air.
Here’s a grit sequence table:
| Step | Grit | Purpose |
|---|---|---|
| Initial sand | 150-180 | Remove rough spots |
| After raising | 220 | Knock down fibers |
| Final | 320+ | Polish smooth |
Follow this, and you stay on track. Total cost stays under $20 for most jobs.
A random orbital sander speeds things. Hand sanding works fine for small pieces.
Follow This Foolproof Step-by-Step Guide to Raise and Smooth the Grain
Patience pays off here. This takes 30 to 60 minutes per board. Test on scrap wood first. Always sand with the grain.
- Sand evenly to 150-180 grit. Power sand or hand sand. Use light pressure. Check flatness by running your finger across. Remove planer marks or mill glaze. Flat wood raises best.

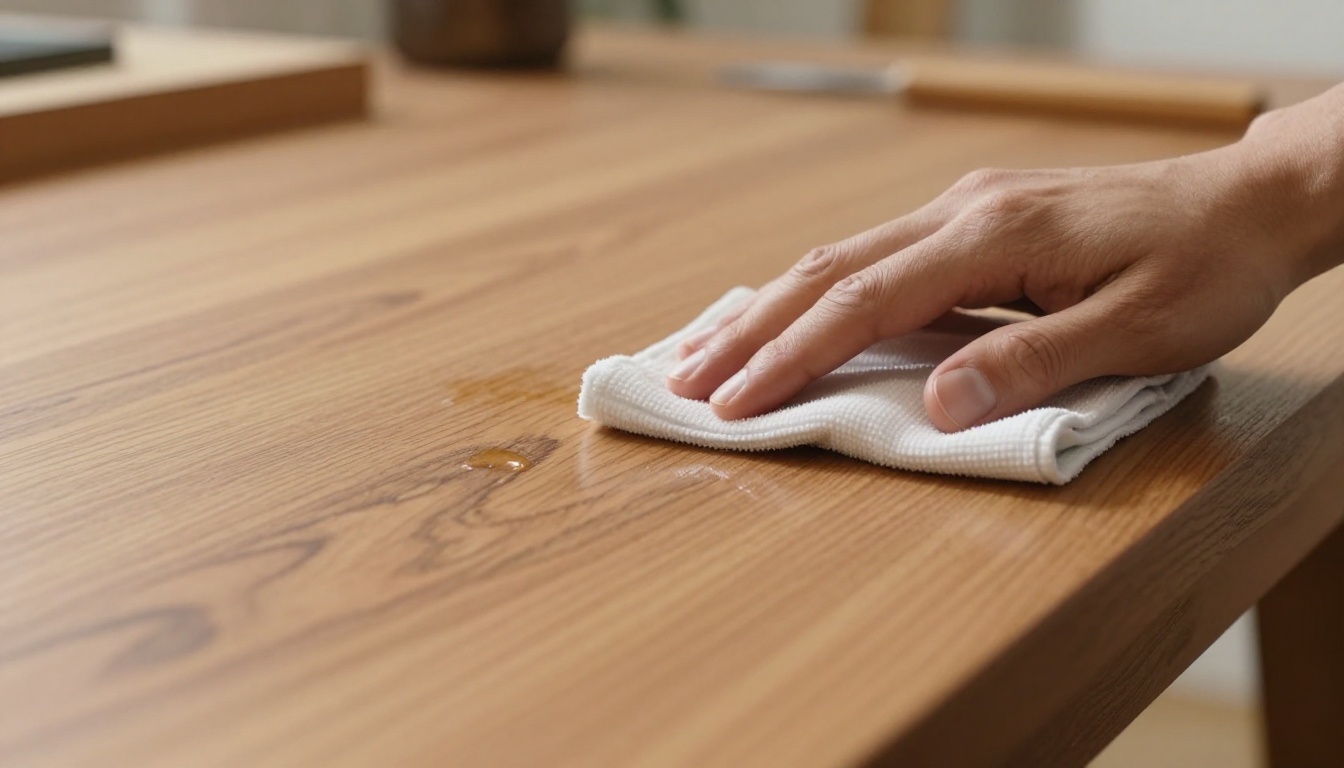
Even sanding at 150 grit sets a smooth base. 2. Wipe with a damp cloth. Use distilled water. Wring the cloth so it’s barely damp. Wipe in the grain direction. Quick passes only. No puddles, or wood warps.
For tricky spots, try a quick steam from a kettle. Alcohol works on oily woods like teak. 3. Let it air dry fully. Wait 1-2 hours, or overnight for thick pieces. Humidity slows it. Use a fan on low. Test by touch: wood feels room temp, not cool. 4. Light sand with 220 grit. New paper avoids clogs. Feather light pressure. Vacuum dust right away. Feel for smoothness. 5. Repeat if needed, then final sand. Dampen and sand again for stubborn grains. Finish at 320-400 grit. Preview sheen by tilting to light.
Prep Your Wood Right from the Start
Start smooth. Uneven pressure leaves lows and highs. Power tools save time, but hand sand edges. Check with straightedge.
Moisten Smartly Without Overdoing It
Damp cloth equals success. Too wet soaks deep. Wipe, don’t rub. Alternatives speed dry time.
Dry Time Secrets for Best Results
Thick stock needs longer. Low humidity helps. Fan circulates air safely. No heat lamps unless dry.
Sand Off the Raised Fibers Gently
Raised bits snag nails. Light strokes cut them clean. Progress grits smoothly.
Finish with Ultra-Fine Sanding
320 grit mimics pro finishes. Grain direction prevents swirls. Your hand glides now.
See Fine Woodworking’s detailed grain raising steps for visuals.
Common Mistakes to Dodge and Pro Tips for Perfection
Too much water warps boards. It soaks unevenly. Fix it: Dry flat with weights. Prevent by wringing cloths hard.
Skipping dry time traps moisture. Dust sticks. Solution: Always wait. Feel first.
Old sandpaper clogs fast. Swap it out after each raise.
Pro tip: Figured woods like quartersawn oak need two raises. Apply grain filler after final sand.
What if grain raises post-finish? Repeat the process or use a shellac wash coat first. It seals pores.
What If Your Wood Warps or Strips?
Warps from excess water. Dry slow and flat. Strips mean mill glaze; sand coarser first.
Boost Results with These Expert Hacks
Shellac wash coat blocks future raises. Random orbital sanders even pressure. Air dry in sun for speed, if low humidity.
For oak or maple, this shines. Your projects impress.
Quick Wins from Raising the Grain
Raise the grain upfront. You’ll get that smooth feel every time. No more rough surprises after finishing.
Grab scrap wood today. Run through these steps. Notice the difference right away. Share your results in the comments. What project will you try this on next?
Subscribe for more woodworking tips. Pin this for your shop. Check related guides on best wood finishes for beginners.
Your skills grow with each piece. Keep sanding smart.